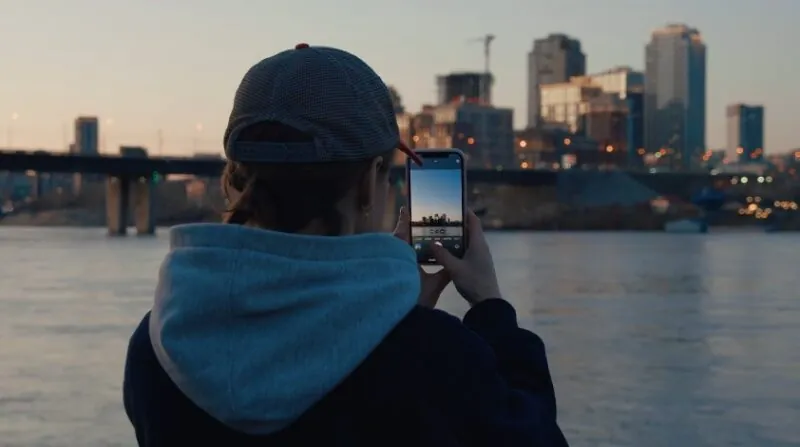
New York City is electric. There’s no other way to say it. It hums with ambition, style, grit, and those perfect, unscripted moments that make for incredible vlogs.
It doesn’t matter if you’re capturing the steam rising from subway grates in Midtown or the street art of Bushwick, NYC offers scenes that don’t need filters.
But while the city is a content goldmine, it’s also a maze—with hidden rules, sketchy blocks, and distractions around every corner.
So, how do you film here without getting totally turned around—or worse, targeted?
Let’s talk shop.
Start Smart
Filming in NYC without a plan is like showing up to a Broadway audition with no script. The city moves fast, and it won’t slow down for your lens.
Before you hit record, spend time prepping—because a few minutes now will save you a world of stress later.
Research Your Locations (Seriously)
Not all neighborhoods are created equal when it comes to filming. Sure, Times Square looks flashy, but it’s a magnet for pickpockets, scam artists, and foot traffic that’ll block every wide shot. Central Park? Gorgeous, but watch the secluded paths after sundown.
Instead, consider:
- DUMBO (Brooklyn): Perfect for city skyline B-roll
- SoHo: Clean, artsy backdrops and trendy cafes
- The High Line: Elevated views, decent foot traffic, and natural light
- Chinatown: Bustling, colorful, with endless textures and sounds
Use the NYC Mayor’s Office of Media and Entertainment (MOME) site to check if your shoot location is permit-friendly and scout ahead on Google Street View to spot hazards like scaffolding or closed sidewalks.
Know the Layout
View this post on Instagram
Manhattan’s grid is a blessing. Streets run east-west, avenues run north-south, and 5th Avenue splits the East from the West. But don’t get too comfortable—places like the West Village are a spaghetti tangle of charming, totally disorienting roads. Learn a few landmark anchors:
- 42nd Street & Park Avenue = Grand Central Terminal
- 14th Street = Union Square, plus multiple subway lines
- 34th Street = Macy’s, Herald Square, Penn Station
Time It Right
Golden hour? Beautiful. Rush hour? A nightmare.
Try to film mid-morning (10 AM) or early afternoon (2 PM) when streets are calmer. Avoid filming between 7–9 AM and 4–7 PM unless you want to document shoulder-to-shoulder commuter rage.
Also—NYC weather can flip on you. What starts as a sunny shoot can turn into a gear-soaking thunderstorm. Use AccuWeather to monitor weather hourly and avoid soggy regrets.
Filming Legally
Let’s bust a myth right now: You do not need a permit just because you’re filming in public.
When You Need a Permit
NYC makes space for small creators. If you’re using handheld cameras or a tripod without blocking sidewalks or setting up lighting rigs, you’re good. No permit necessary.
You will need a permit if:
- You’re reserving public space
- You have a crew that clogs the sidewalk
- You’re using big rigs or dolly tracks
- You’re filming in subway stations with more than a phone
Need to film in Central Park or some less known green space? That’s a separate thing—reach out to the NYC Parks Department. For subways, contact the MTA Film Office.
Pro tip: If you’re unsure whether you’re pushing the rules, request a Letter in Lieu of Permit from MOME. It’s basically a “Get Out of Hassle Free” card if someone questions your right to film.
What About Privacy?
Legally, New York lets you film in public spaces where there’s no “reasonable expectation of privacy.” So yes, you can vlog yourself in the street, in parks, or in the subway visually. But audio is where it gets sticky.
Under NY State law, you need at least one person’s consent to record audio of a conversation. So don’t record people’s voices without their OK. If someone asks not to be filmed, respect it—especially if you’re monetizing your content. Carry simple release forms if your vlog includes recognizable individuals in a commercial way.
Don’t Make Yourself a Target
NYC isn’t Gotham City anymore. In fact, it’s one of the safer major cities in the U.S.—but there’s no such thing as being “too careful” when you’re carrying expensive gear.
Stay Aware (Always)
Filming while walking is a rookie mistake. It’s not just about bumping into people—it marks you as distracted. If someone’s watching for easy targets, a person focused on a camera screen is low-hanging fruit.
Tips:
- Film from secure spots: benches, corners, storefronts
- Keep headphones low or use one ear only
- Stay off your phone in deserted areas
New Yorkers on Reddit say it best: “Keep moving, stay alert, don’t engage.”
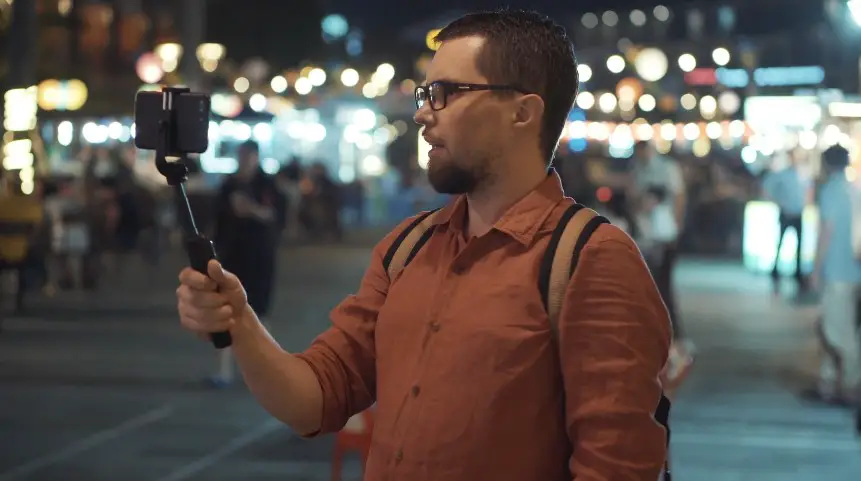
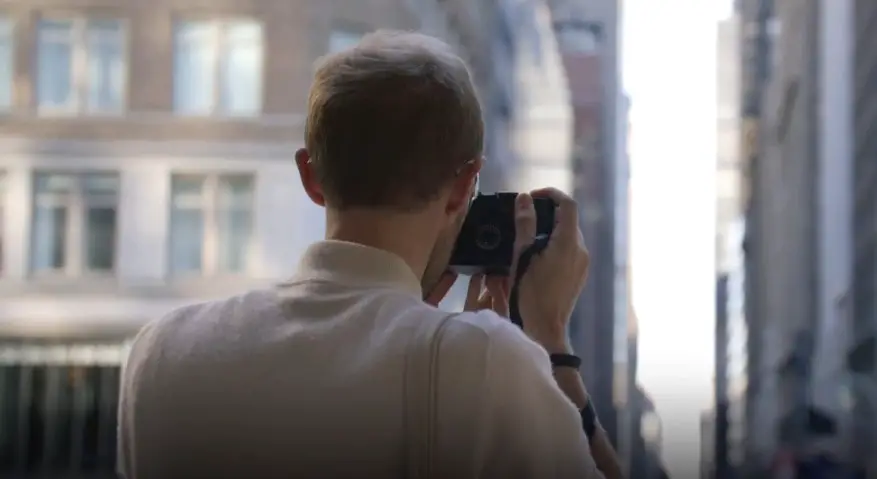
Keep Gear Discreet
You don’t need a massive DSLR to shoot great content. Mirrorless cameras or high-end smartphones are your friends—they’re lighter, less flashy, and less likely to draw attention.
Try:
- Sony ZV-1 – pocket-sized, excellent video
- iPhone 14 Pro / Pixel 8 – pro-quality footage without screaming “I’m carrying $3K in gear”
- Rode VideoMicro – compact mic, solid audio
- DJI Osmo Mobile – stabilizer that fits in a backpack
Always use a camera strap. And store backups in the cloud as soon as possible. Dropbox, Google Drive, iCloud—take your pick. Just don’t let a lost camera erase a full day’s work.
Don’t Film Alone at Night
Yeah, NYC is “the city that never sleeps,” but that doesn’t mean every block is safe after dark. Certain areas like East New York, parts of the South Bronx, or far-out Queens neighborhoods can get dicey.
Stick to:
- Tourist hubs after dark (High Line, Bryant Park, Times Square)
- Well-lit areas with people around
- Group filming – even one friend makes a difference
Use the Citizen app for live safety alerts. And know where the nearest NYPD precinct is—just in case.
NYC Navigation for Vloggers
Even lifelong locals sometimes get lost in the city’s twists and turns. Avoid looking like a tourist who’s about to cry in a bodega by keeping your navigation tight.
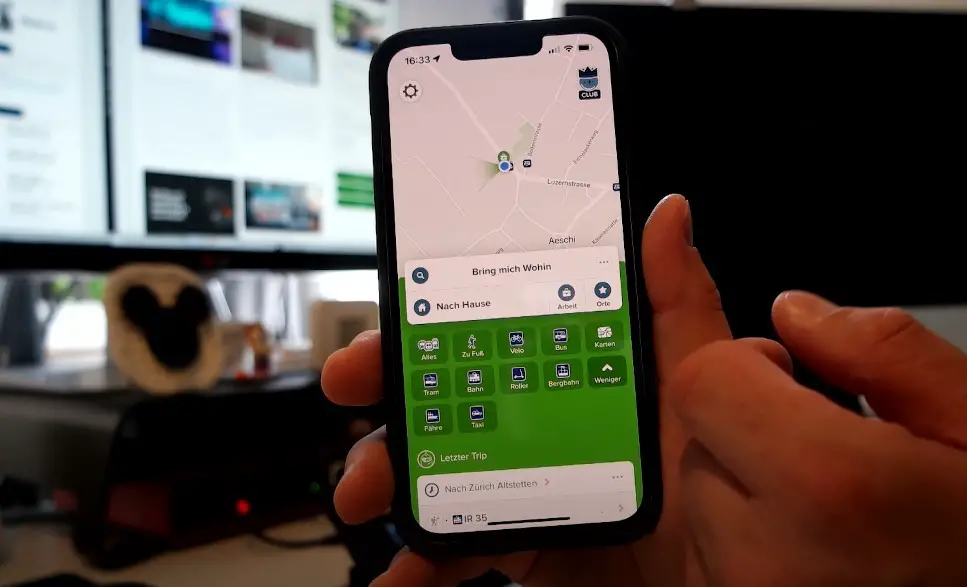
Use the Right Apps
You need real-time transit info, alerts, and alternate routes. Here’s what helps:
- Citymapper – great for subway changes and reroutes
- Google Maps – solid for walking and landmarks
- Transit – real-time train arrivals
And don’t forget offline maps. Download the NYC area in Google Maps—you’ll thank yourself when you’re trying to reroute in a dead zone on the F train.
Learn the Subway (It’s Worth It)
The subway is chaotic brilliance. Once you crack the code, you can cross the city faster than any cab or Uber.
Tips:
- Know uptown vs. downtown: It’s directional, not street-specific
- Memorize major transfer hubs: Atlantic Ave, Times Square, Union Square
- Watch for weekend changes—construction reroutes are constant
In 2024, the MTA said about 85% of trains were on time, but delays still happen. Build in buffer time, especially if filming across boroughs.
Ask for Help—Selectively
New Yorkers aren’t rude—they’re busy. But most will help if you ask directly. Go for people who look like staff: subway agents, NYPD, store clerks. Don’t share your gear value or shooting schedule with strangers.
Gear & Filming (Keep It Light, Keep It Tight)
You’re not shooting “The Batman”—keep your rig simple and your bag lighter than a pizza box.
Post-filming, platforms like SocialWick can help your content gain traction without the need for heavy promotion strategies.
Rig-wise, here’s a recommended vlogging setup:
| Gear | Why It Works |
| Sony ZV-1 / iPhone 14 Pro | Compact, high-quality, discreet |
| Rode VideoMicro | Crisp audio, doesn’t draw attention |
| DJI Osmo Mobile | Smooth shots without bulk |
| Extra batteries & power bank | NYC drains everything—fast |
| Cloud storage app | Back up daily to avoid disasters |
Filming Smarter
Before you hit the streets, have a rough shot list. Know what story you’re telling. You don’t want to stand on the corner of Houston and Bowery for 45 minutes wondering how to intro a ramen vlog.
Tips:
- Script or bullet key points
- Use wide shots early, then zoom into details
- Avoid pointing your camera at random people
- Film “safe zones” like parks, food trucks, store exteriors
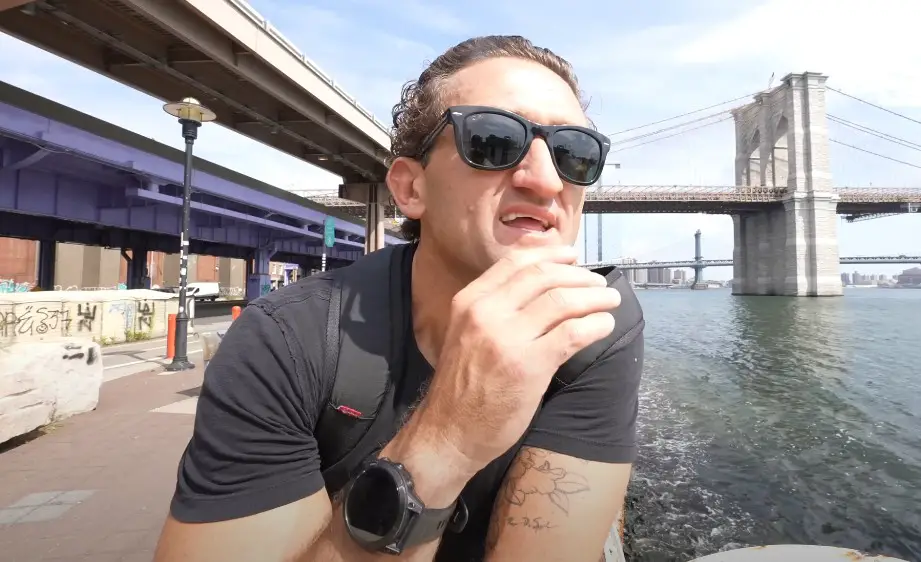
What the Pros Do
Take a cue from NYC’s vlogging veterans.
- Casey Neistat: Known for run-and-gun shooting, Casey keeps his gear simple, routes planned, and shots purposeful.
- Here Be Barr: Leans into storytelling, often filming in high-foot-traffic areas where both safety and interest are high.
Their content feels spontaneous—but behind the scenes, it’s all planning, timing, and street smarts. That’s your blueprint.
Final Thoughts
Vlogging in NYC is equal parts thrilling and tactical. It rewards hustle, creativity, and confidence—but punishes carelessness fast.
Know your spots. Know your gear. Trust your instincts. And always back up your footage.
You don’t need a film crew or an armored backpack—just smart choices, a good eye, and the street sense to avoid the wrong alley.
So get out there. Hit record. And let the city show you what it’s made of—one shot at a time.